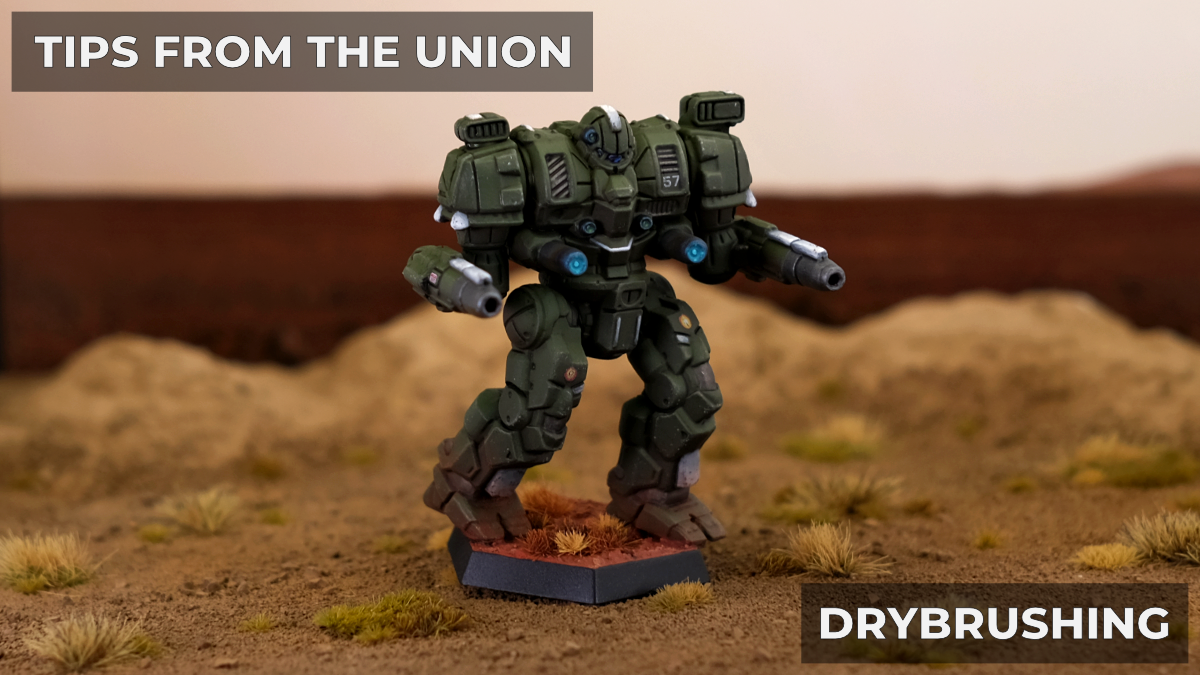
Drybrushing is a commonly-used technique that most miniature painters will find themselves utilizing at some point in their painting journeys. It helps to pick out and highlight fine detail on raised panels, and can also be used to apply weathering or create a burnished look on metal surfaces. While it’s not a catch-all solution, nor will it ever fully replace a steady hand and a sharp eye when working with fine details, it’s an efficient one that can help you make your models pop with little effort.
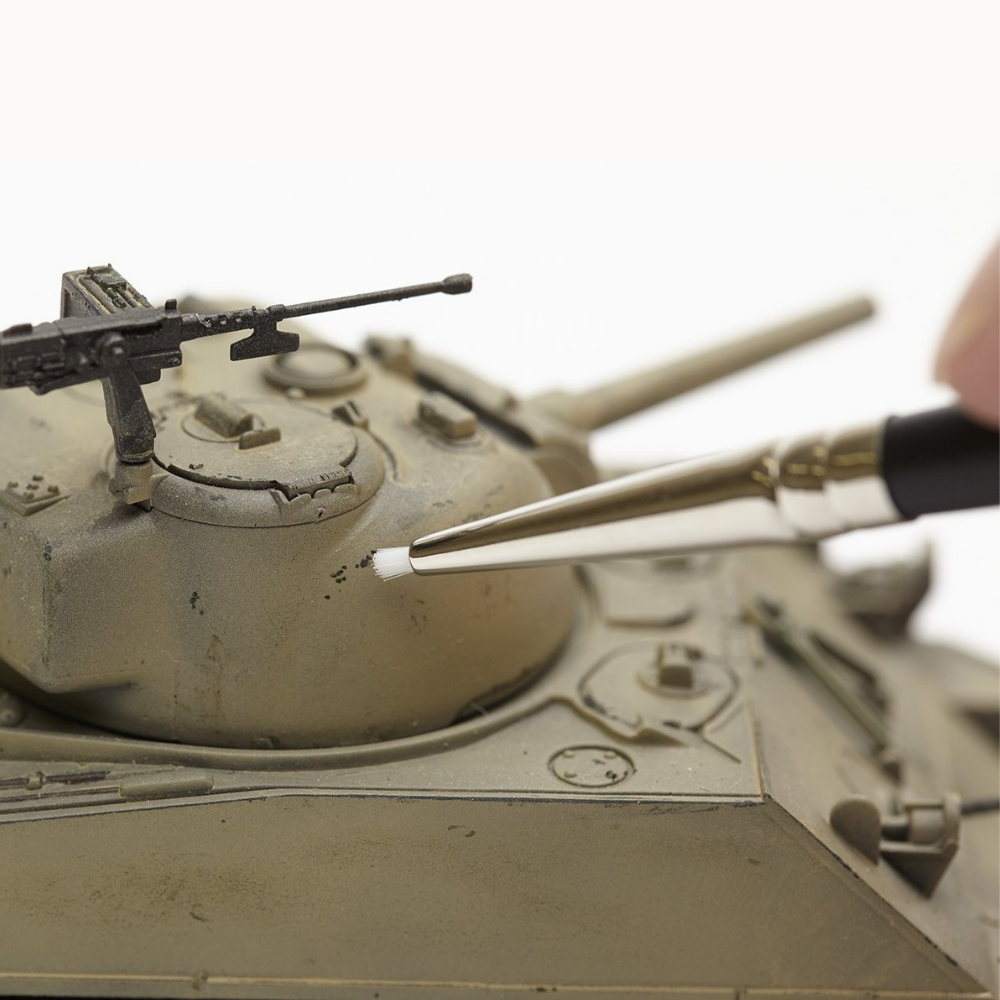
When most people are first taught about drybrushing, the methodology provided is usually very rough. The simplest way to start drybrushing is to load a coarse flat or angled brush, such as those sold by Citadel and The Army Painter, with the color you intend to drybrush with, then rub it against a paper towel to remove excess paint from the brush. Once the brush has been “deloaded,” you can swipe the brush gently across the model to transfer what little paint is left on the bristles onto the surface.
While this technique is simple, it can have some adverse effects, such as building up a “chalky” look on flat areas and depositing fibers from the paper towel onto your model. Here’s a few tips I’ve found that help my drybrushed models look their best.
We’ll start by looking at materials. Rather than using purpose-made drybrushes such as the flats from Citadel and Army Painter, I utilize very inexpensive eyeshadow brushes I purchase at my local pharmacy – in this case, Wet N’ Wild’s Small Eyeshadow Brush, which runs about $1-2 USD. These brushes are softer than those you’ll find in most hobby brush collections, creating a more consistent application of paint while drybrushing. They’re also dirt cheap, which means you can simply toss those that start to get too stiff or damaged to effectively use and have three or four more ready to go for the same price as one drybrush from Army Painter, much less more expensive brands like Citadel and Artis Opus. (Please do not steal these brushes from your partners’ makeup kit; they will be very upset.)
I’ve also got a small round drybrush on deck from Pro Acryl; I use this for smaller areas I can’t quite reach with the eyeshadow brush, but I didn’t use it for this example.
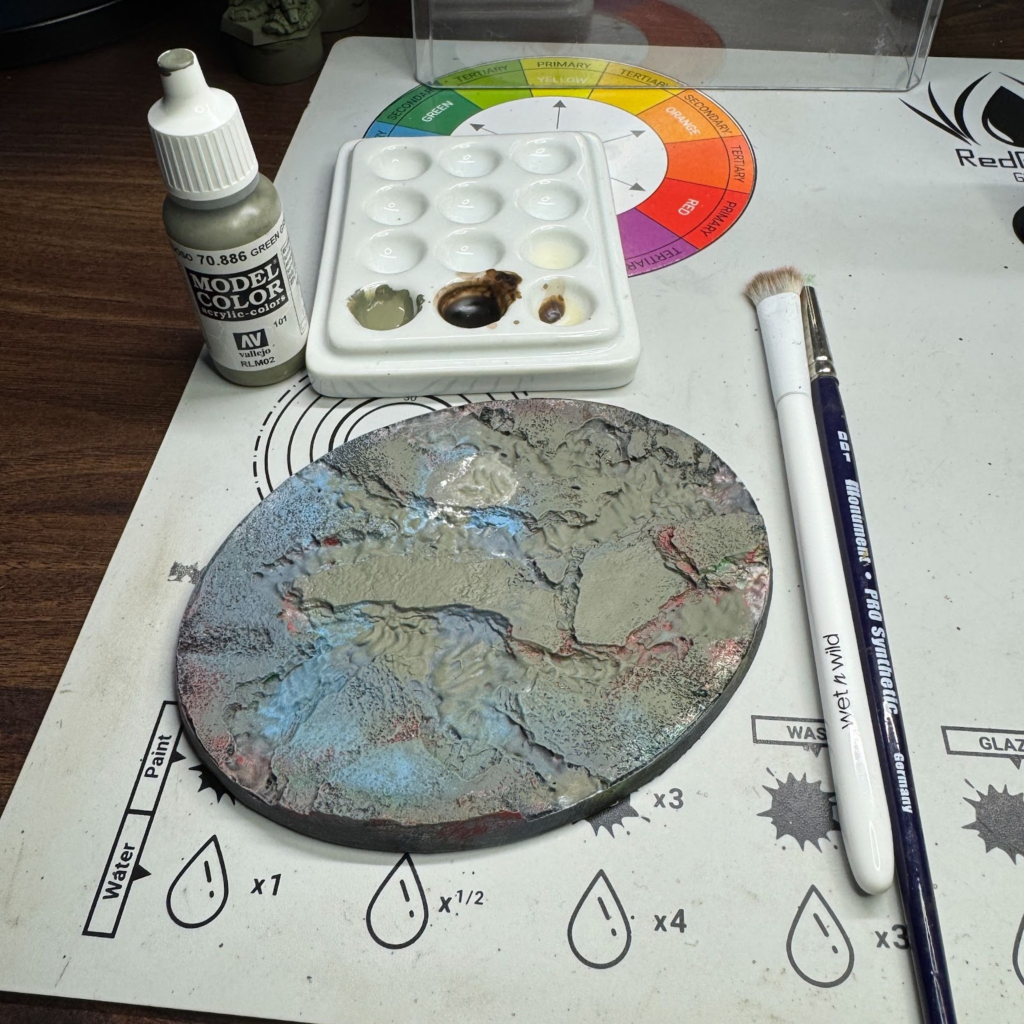
You’ll also notice that I have a big oval base with lots of recesses in it, creating a varied, textured surface. I generally use this as a “dry brush palette” to remove excess paint from my brushes, rather than using a paper towel. This helps keep just enough moisture on the brush that it allows the paint to transfer to the model, while also minimizing any potential fiber contamination when drybrushing. This base cost me about $3 from a clearance bin at Adepticon, but there are other options one can use as well, such as textured MDF boards designed explicitly as drybrush palettes or even just sheets of cork, which will absorb more moisture than a plastic base or MDF board, but less than a paper towel.
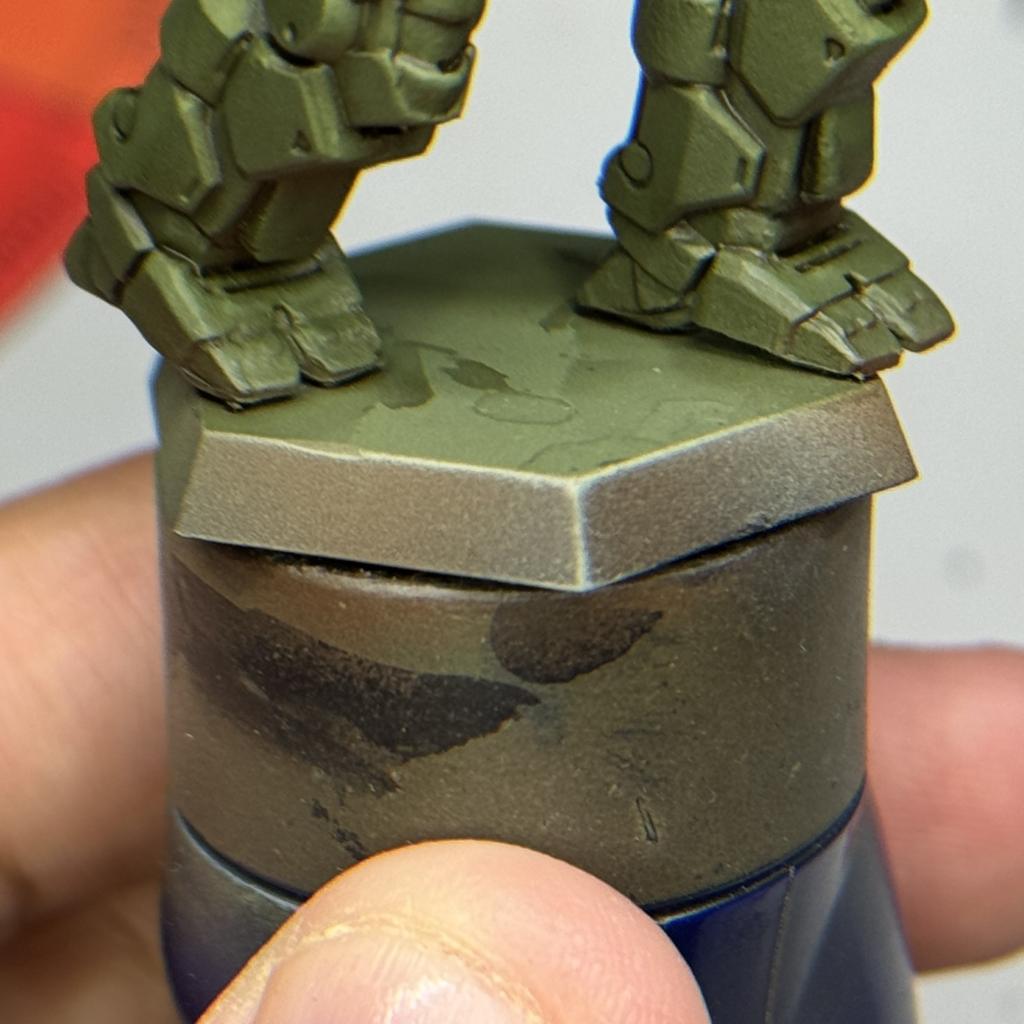
Once I have the brush loaded up, I often give the brush a quick sweep over the base of my model’s edges to make sure that it’s loaded the way I want it. In general, I’m looking for pigment to stick to the hard edges of the hex in a semi-opaque layer after three to four strokes, with little to no excess or chalk-like buildup on the flat surfaces.
After confirming I’ve got my brush where I want it, I start applying brushstrokes on my model, trying to use the brush at roughly a 45-degree angle to the edge I’m wanting to highlight, using the side of the brush at the start of the stroke and ending it with the tip. I’m not trying to drybrush the entire model, just grab the edges that would be illuminated by a light source. In keeping with this, I generally try to brush downward, away from where I’d imagine the primary light source would be.
Of course, nothing ever goes completely to plan. Drybrushing is, unfortunately, a great way to find mold lines you missed on the model, so my work is often interrupted by needing to break out a hobby knife and trim down a section that I missed before continuing.
Additionally, sometimes I’ll get a bit of chalky buildup or drybrushed pigment in a place I don’t want it. The good news is that there’s an easy fix for that.
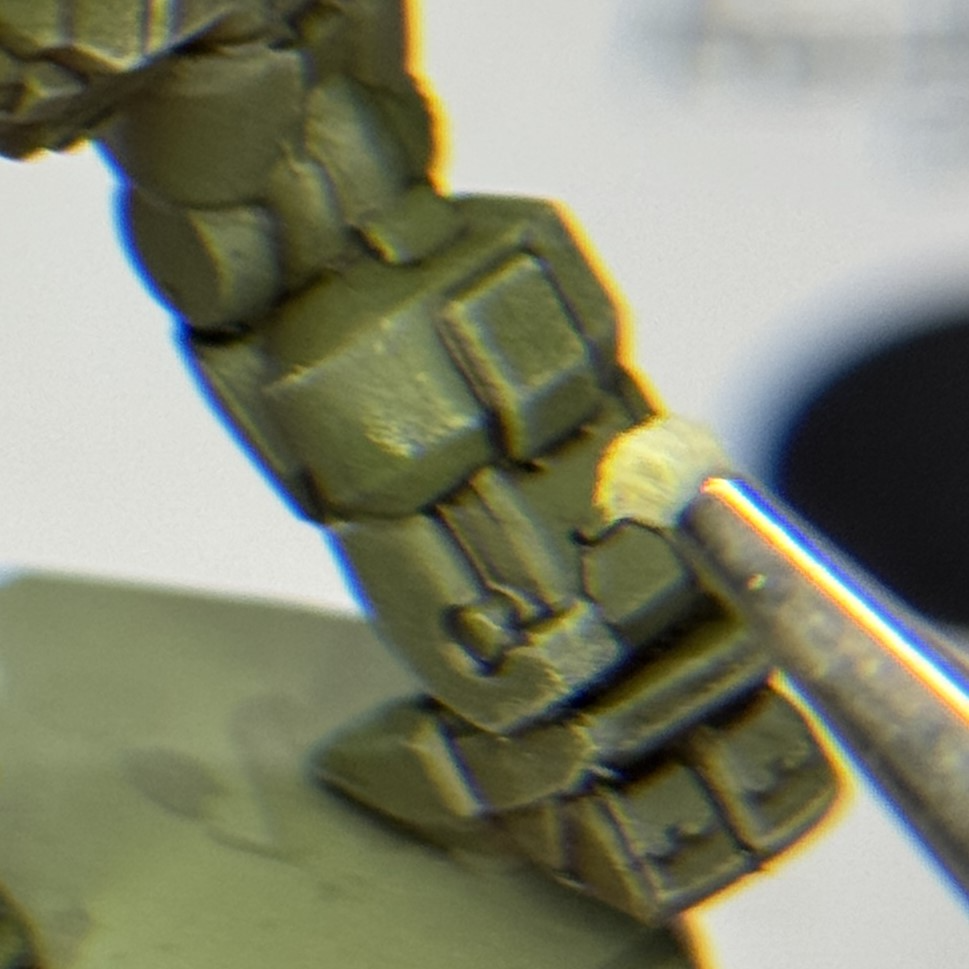
Here’s a good example of what I’m talking about: a wayward bristle deposited pigment in a line across the calf of my Devastator’s right leg. I could just treat this as weathering, but let’s see if we can’t get it removed.
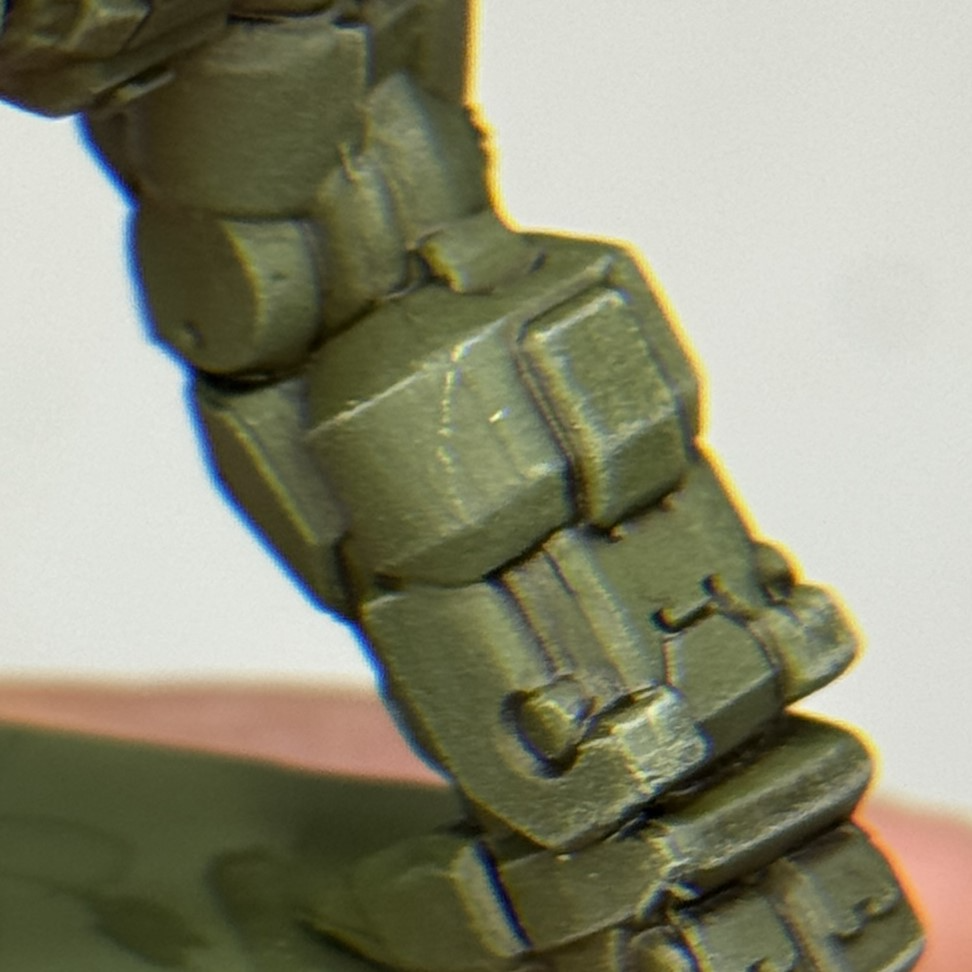
Remember that drybrushing is, at a fundamental level, painting by removing enough paint medium so that only pigment is deposited on the model, rather than allowing the medium to dry and settle on the surface as it would with normal brush painting. This means that I can “re-activate” the pigment before it cures by applying a bit of water, but how do I remove it?
My secret weapon for fixing mistakes like this is actually another set of drybrushes, namely, the GSI Creos Mr. Hobby Mr. Weathering Brush set.
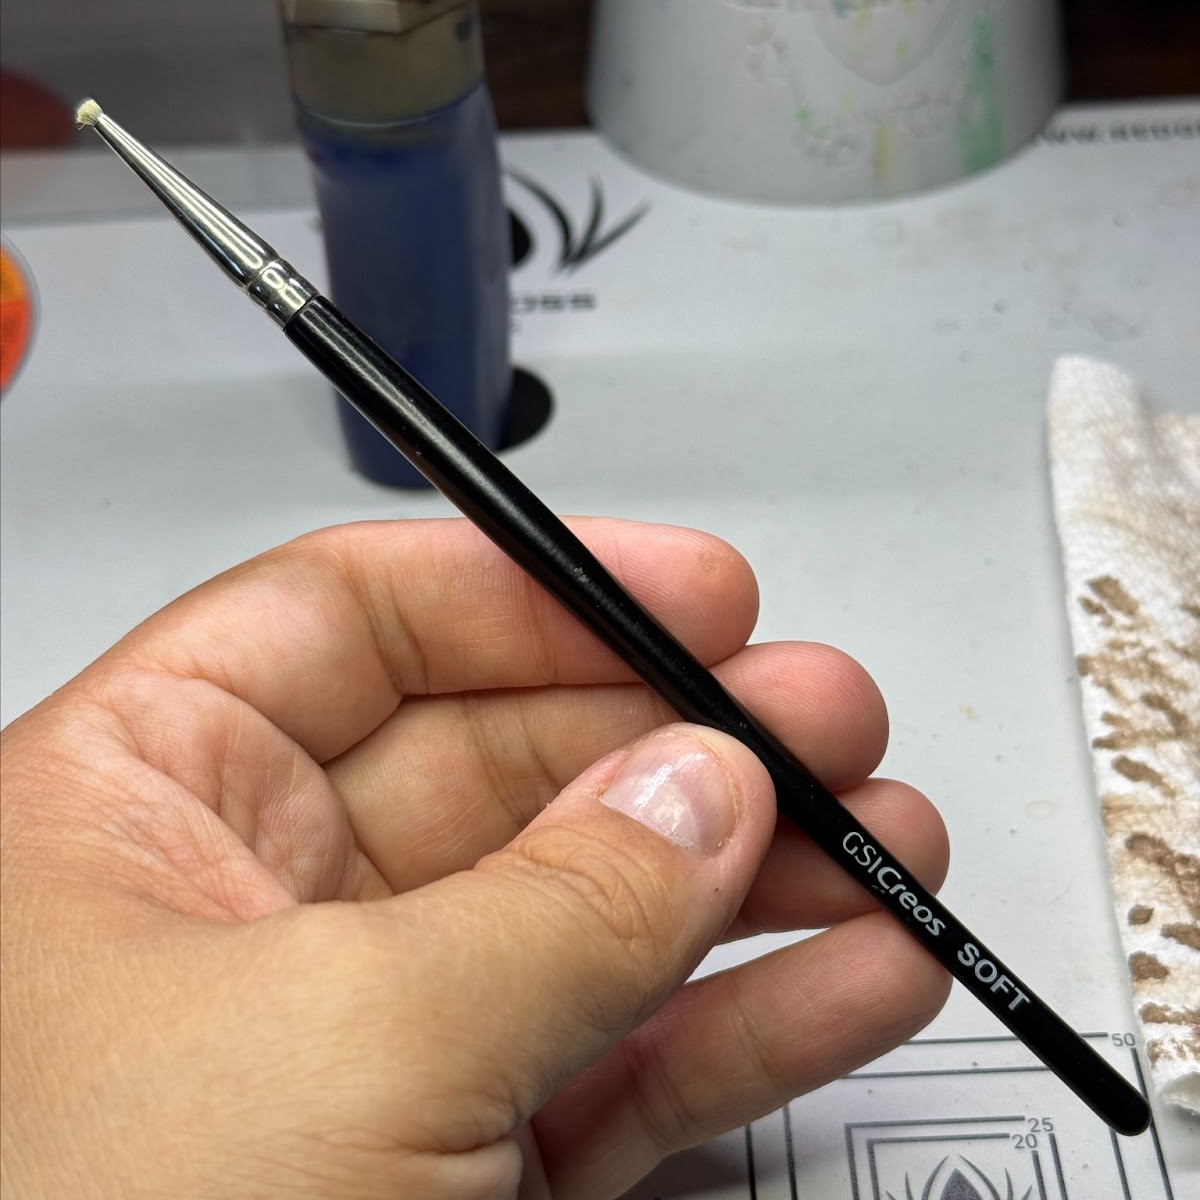
Despite sounding like something you’d find on the set of Spaceballs, their primary use is to apply tiny bits of weathering paint by stippling or drybrushing paint onto finished surfaces. Here, we’re going to do the opposite.
Using the small “soft” version of the brush (as I do an all-over wash before drybrushing and don’t want to remove too much paint), I simply dip it into my water cup and then very (VERY) gently scrub away the excess drybrushed paint. If you haven’t applied too much paint, it shouldn’t take much time, but be patient – you don’t want to scrub away any wash filters or your basecoat here.
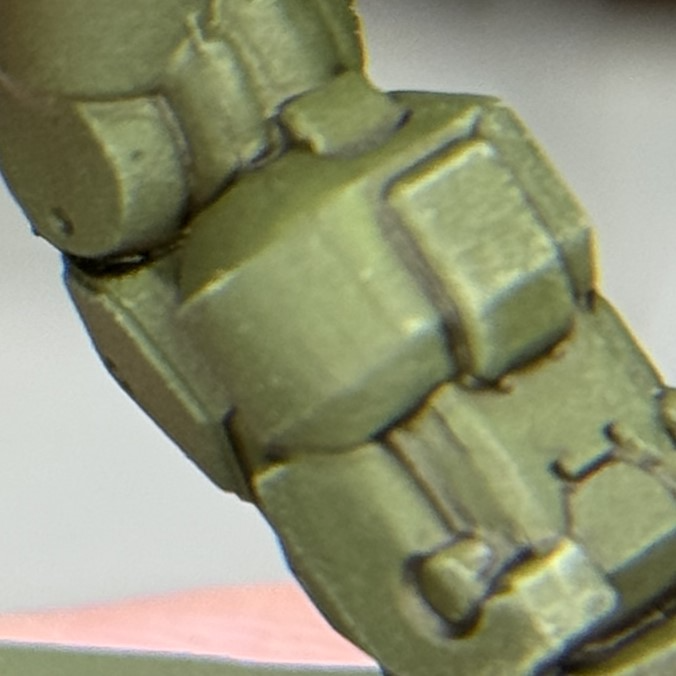
Once you’ve cleaned up any excess, you’re done and ready to move on to the next phase of your workflow!